


In this four-part blog series, we are going to learn CRUD operations and how to handle them in our next JS application. CRUD stands for Create, Read, Update and Delete, we will code all the CRUD operation handlers.
In this part, we are going to study, Create operation and in API terms, we are going to learn and code POST API request.
Let's start with learning and coding the POST request.
Understanding Of POST Request
A POST request is a type of HTTP request method used to submit data to a server. When a client, such as a web browser, makes a POST request to a server, it is sending data to the server in the request body. The data can be in various formats, such as JSON, XML or form-encoded data. The server processes the data and responds with a status code and any requested data. POST requests are typically used for creating or updating resources on a server, such as submitting a form, adding a new user or uploading a file. Unlike GET requests, POST requests can change the state of the server.
Create a Next JS App
npx create-next-app b-04-get-operation
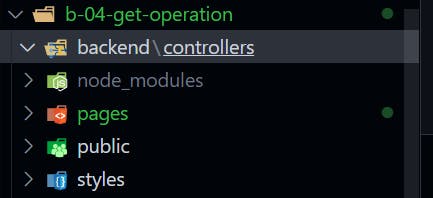
Create a Backend API folder
Once project files are created, we can go inside the project directory and find the "/pages" folder. It is the most important folder of the next JS application, as it contains all the backend and frontend routes.
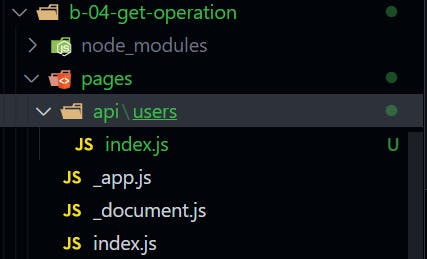
Inside the "/pages" folder, there is a "/api" folder, which is used for creating all the backed api routes.
Let's start with an example, I wanted to create a backend api route "/api/users". For this, we need to create a folder name "users" inside the "/api" folder. For sending a request to the route "/api/users" and handling requests, we create a file with the name "index.js" inside the "/api/users" folder.
Coding POST Request Handler
we will follow the below steps for handling POST request-
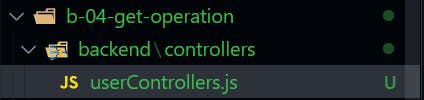
we will create a "backend" folder inside the main project directory and inside the "/backend" folder we will create the "controllers" folder.
We will create a file with the name "userControllers.js" inside the "/backend/controllers" directory.
In "userControllers.js" file, we will write the code for handling POST request.
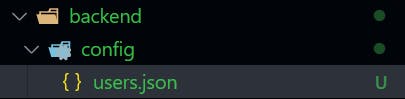
 import users from "@/backend/config/users.json";
 const users_arr = [...users];
 export async function getUsers(req, res) {
   try {
     res.status(200).send({
       message: "Users data fetched successfully!!",
       usersNum: users_arr.length,
       users: users_arr,
     });
   } catch (error) {
     console.log(error.message);
     res
       .status(500)
       .send({ message: "Internal Server error", error: error.message });
   }
 }

 export async function createUser(req, res) {
   const user = req.body;
   try {
     users_arr.push(user);
     res
       .status(200)
       .send({ message: "Users created successfully!!", users: user });
   } catch (error) {
     console.log(error.message);
     res
       .status(500)
       .send({ message: "Internal Server error", error: error.message });
   }
 }
let's also create sample users JSON file.
 [
   {
     "id": 1,
     "name": "John Smith",
     "age": 35,
     "address": "123 Main St, Anytown, USA",
     "gender": "male"
   },
   {
     "id": 2,
     "name": "Jane Doe",
     "age": 28,
     "address": "456 Oak Ave, Another Town, USA",
     "gender": "female"
   },
   {
     "id": 3,
     "name": "Robert Johnson",
     "age": 42,
     "address": "789 Elm St, Yet Another Town, USA",
     "gender": "male"
   },
   {
     "id": 4,
     "name": "Alice Brown",
     "age": 31,
     "address": "321 Maple Rd, Anytown, USA",
     "gender": "female"
   },
   {
     "id": 5,
     "name": "Michael Davis",
     "age": 25,
     "address": "654 Cedar Dr, Another Town, USA",
     "gender": "male"
   }
 ]
Finally, we write code in "index.js" for handling POST request.
 import { createUser, getUsers } from "@/backend/controllers/userControllers";

 export default async function handler(req, res) {
   // type of request
   const { method } = req;
   switch (method) {
     case "GET":
       // GET /api/users -> Get all users data
       await getUsers(req, res);
       break;
     case "POST":
       // POST /api/users -> Post/Create a user
       await createUser(req, res);
       break;
     default:
       res.setHeader("Allow", ["GET", "POST", "PUT", "DELETE"]);
       res.status(405).end(`Method ${method} Not Allowd`);
       break;
   }
 }
Run the Server in Dev Mode
Run the below command in the project directory and the application will start running in dev mode on "localhost:3000".
npm run dev
Testing the POST Request in POSTMAN
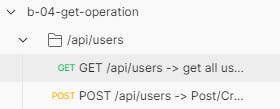
We create a directory in POSTMAN as below.
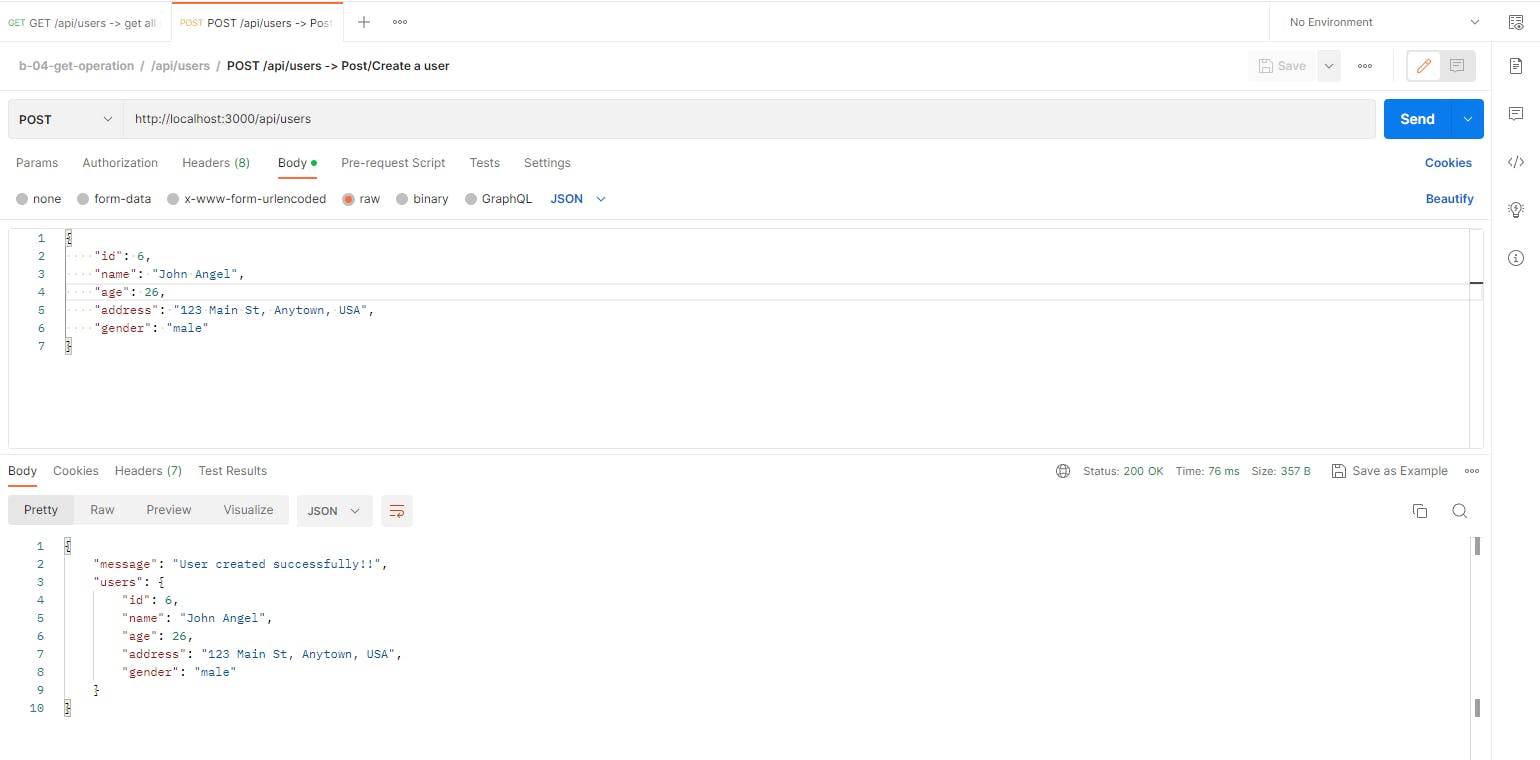
We made a POST request from POSTMAN to the URL: "localhost:3000/api/users" with our new user data in the body.
{
    "id": 6,
    "name": "John Angel",
    "age": 26,
    "address": "123 Main St, Anytown, USA",
    "gender": "male"
}

And we get a response as below.
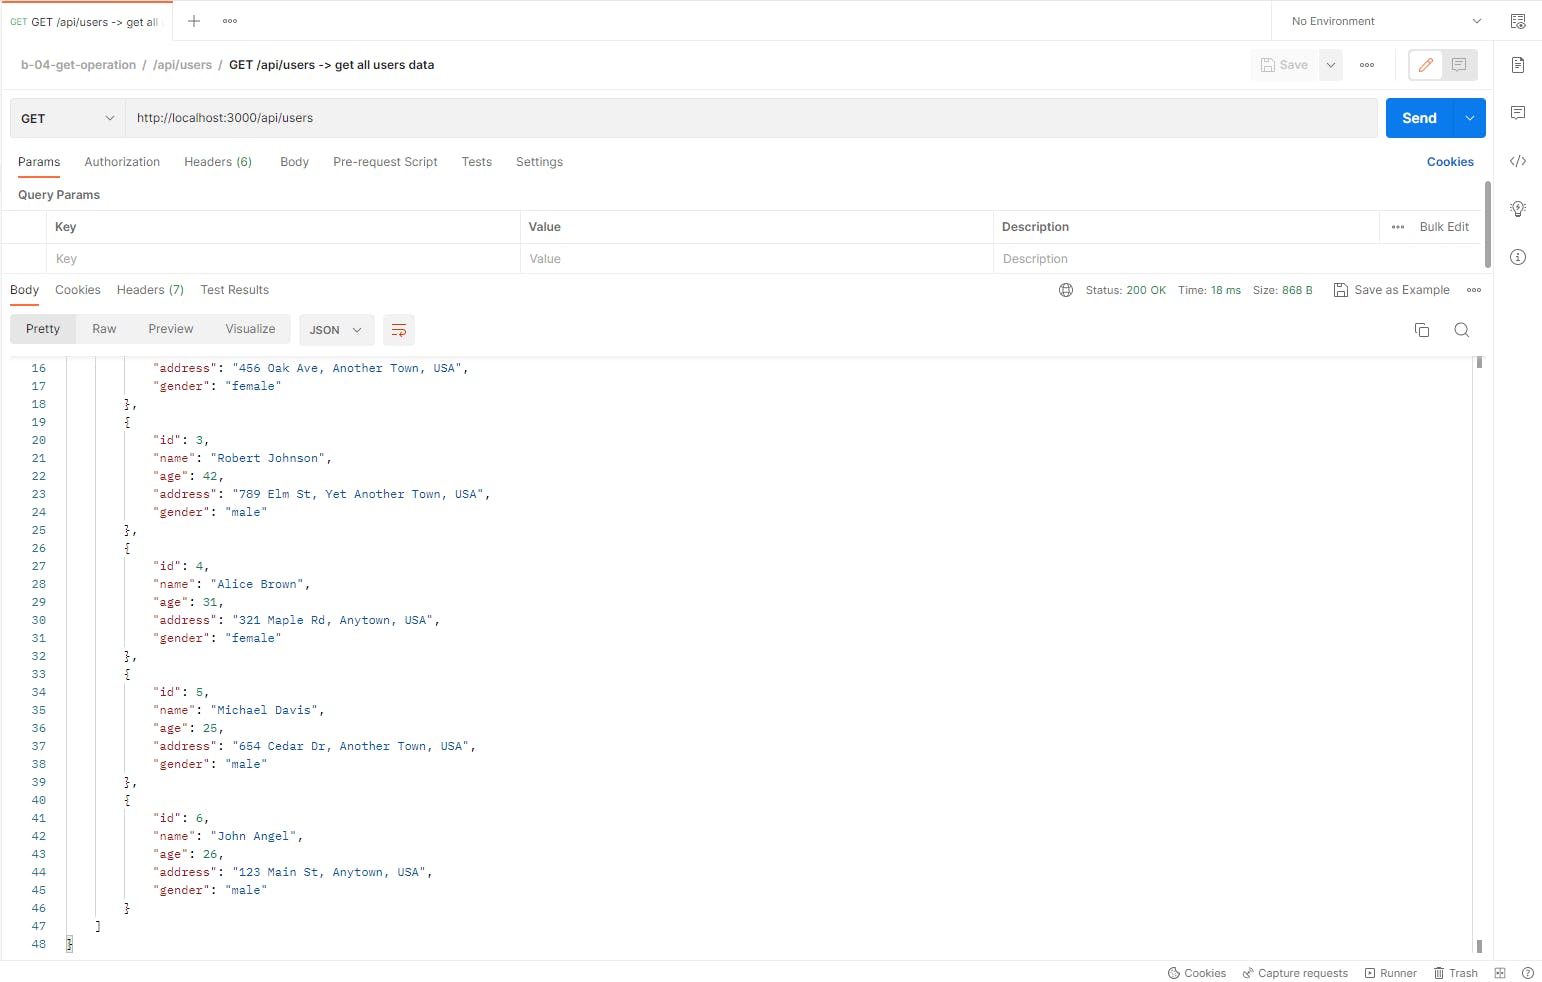
We made a GET request from POSTMAN to the URL: "localhost:3000/api/users" and we get a response as below and we see our new user in the response from the server.
Finishing Up
Thank you for reading my article! I hope this has given you some insight into how to handle the POST request in Next JS. See you soon in the next part of this series.